STUDY 01Beachwear
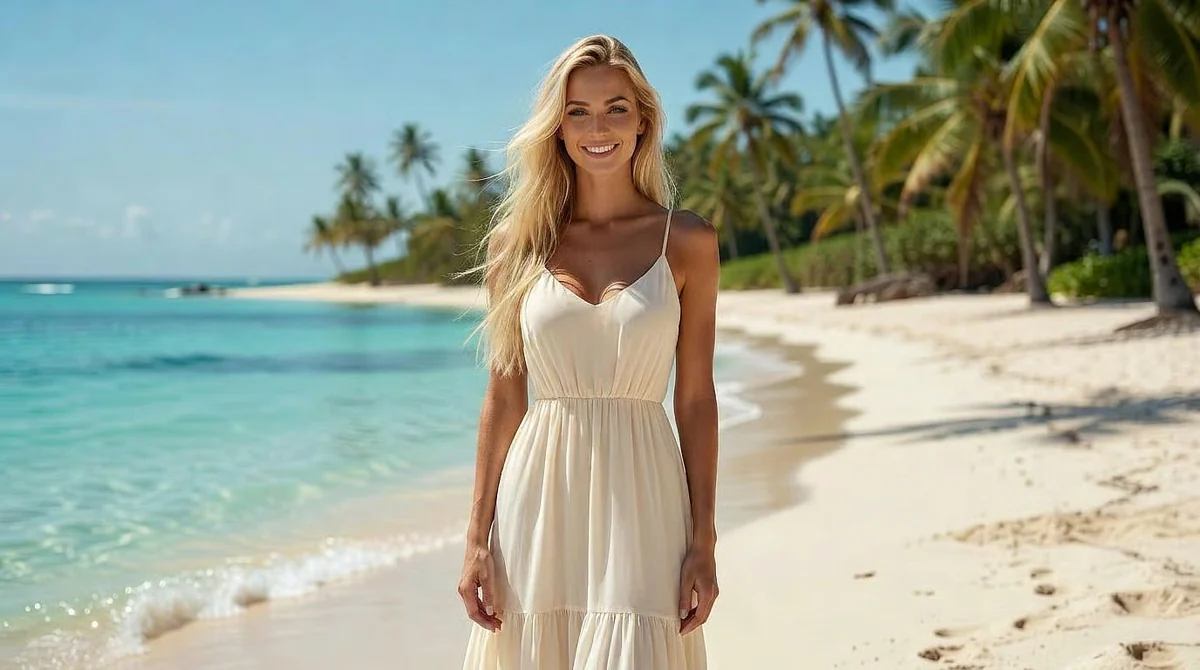 Before
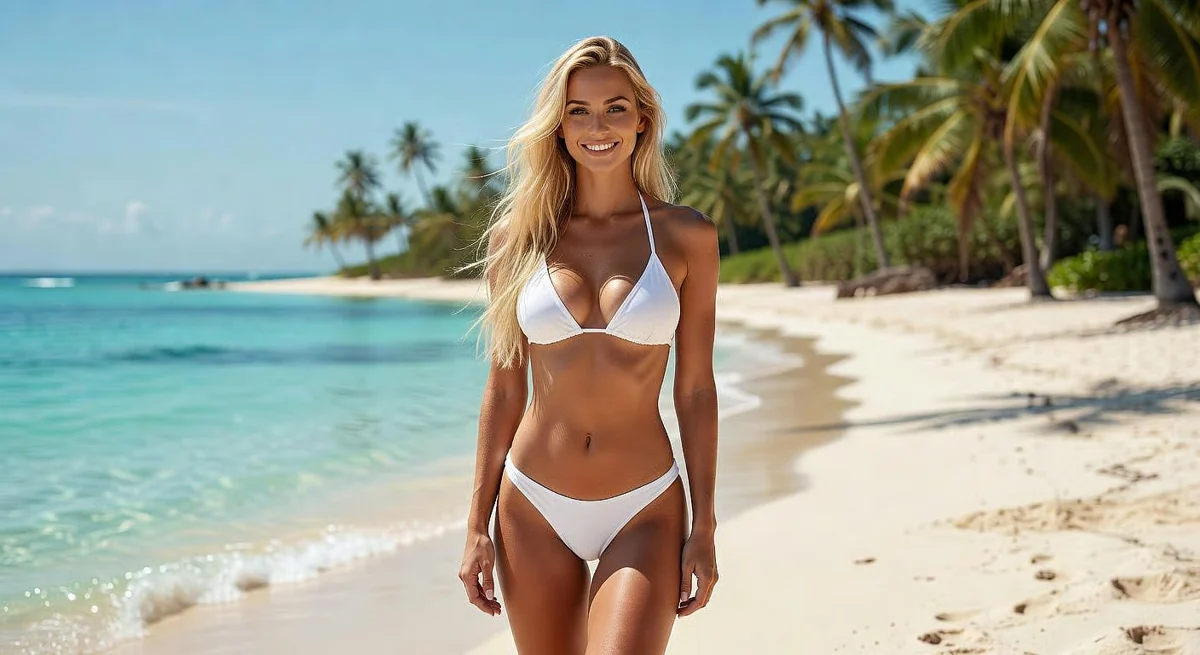 After
A new look for a sunlit escape.
Restyle the adult model in a white two-piece bikini for a beach fashion photo. Preserve her face, hairstyle, standing pose, tropical beach and bright daylight.
NAIE · Image editing
Upload a photo and describe what to change. Keep the details you want.
Use this NSFW AI photo editor to change a scene, relight a portrait or refine colors with one reference and a written instruction. For outfit presets or a two-photo face swap, open the dedicated tool below.
01 / DIRECT THE CHANGE
Start with an edit direction, then adapt the instruction to your image. These are prompt ideas, ready for your own reference.
Direct the light and mood without starting from a blank image.
Relight the image with soft window light from the left, warm highlights and gentle shadows. Keep the subject, outfit, pose, background and framing unchanged.
02 / BEFORE & AFTER
Try a new outfit, change the setting or reshape the mood. Start with your own image and describe the look you have in mind.
BeforeAfterRestyle the adult model in a white two-piece bikini for a beach fashion photo. Preserve her face, hairstyle, standing pose, tropical beach and bright daylight.
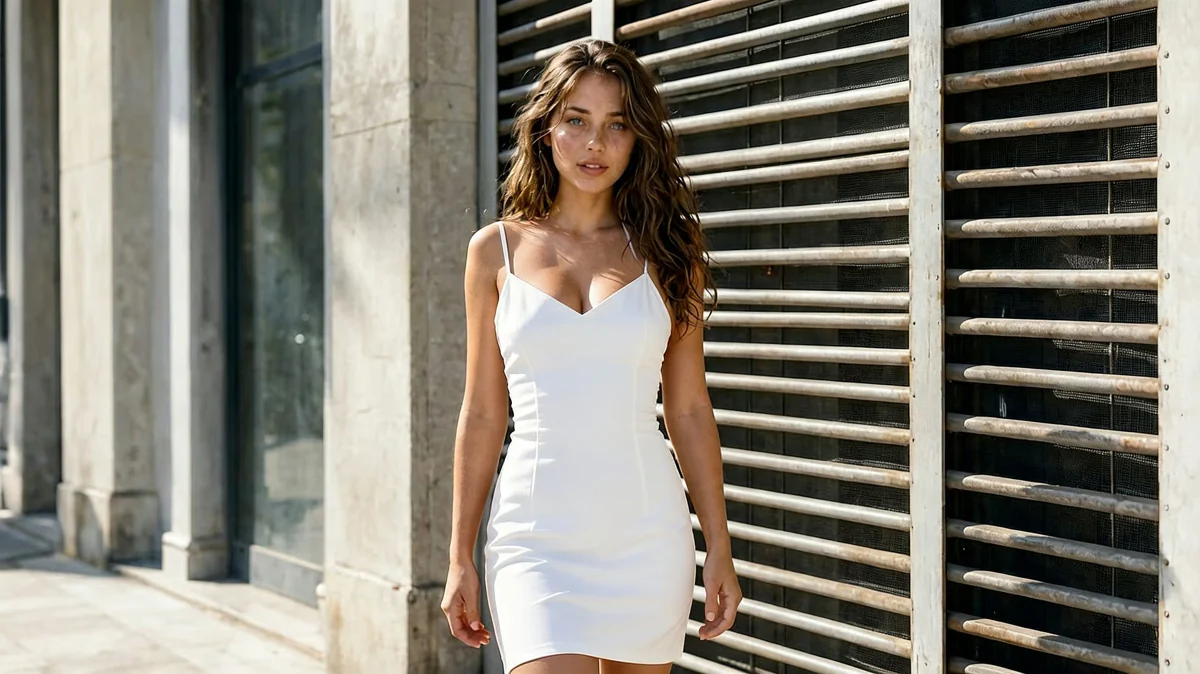 Before
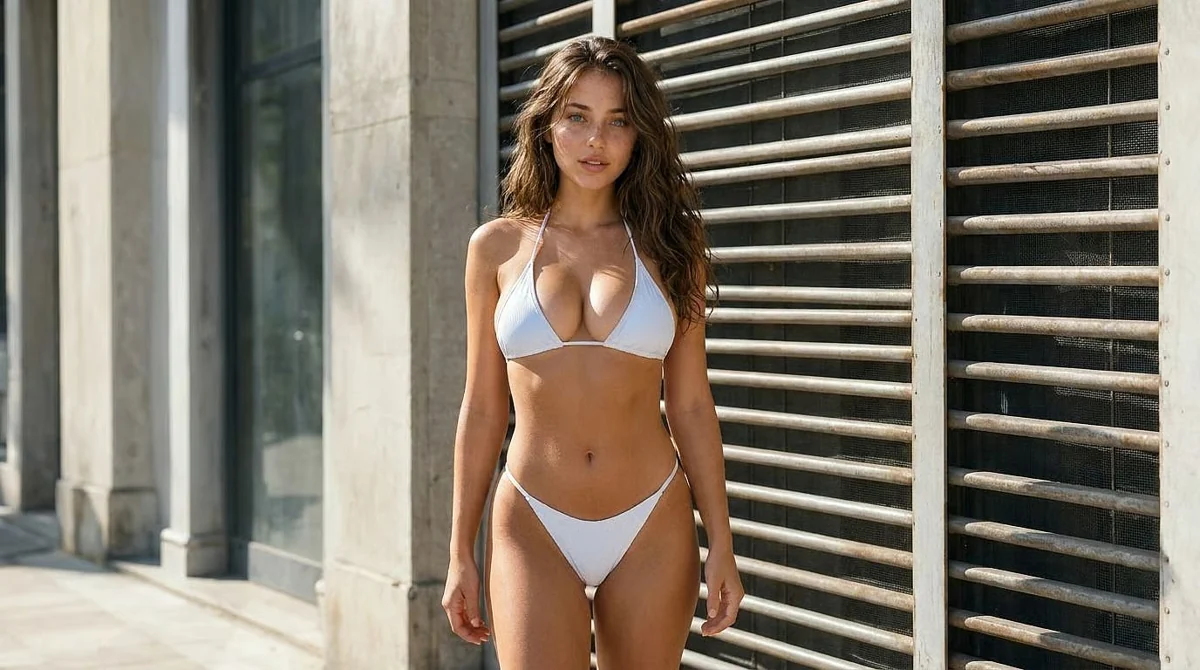 After
Replace the adult model’s white mini dress with a white two-piece swimsuit. Keep her face, long brown hair, standing pose, urban backdrop and natural daylight consistent.
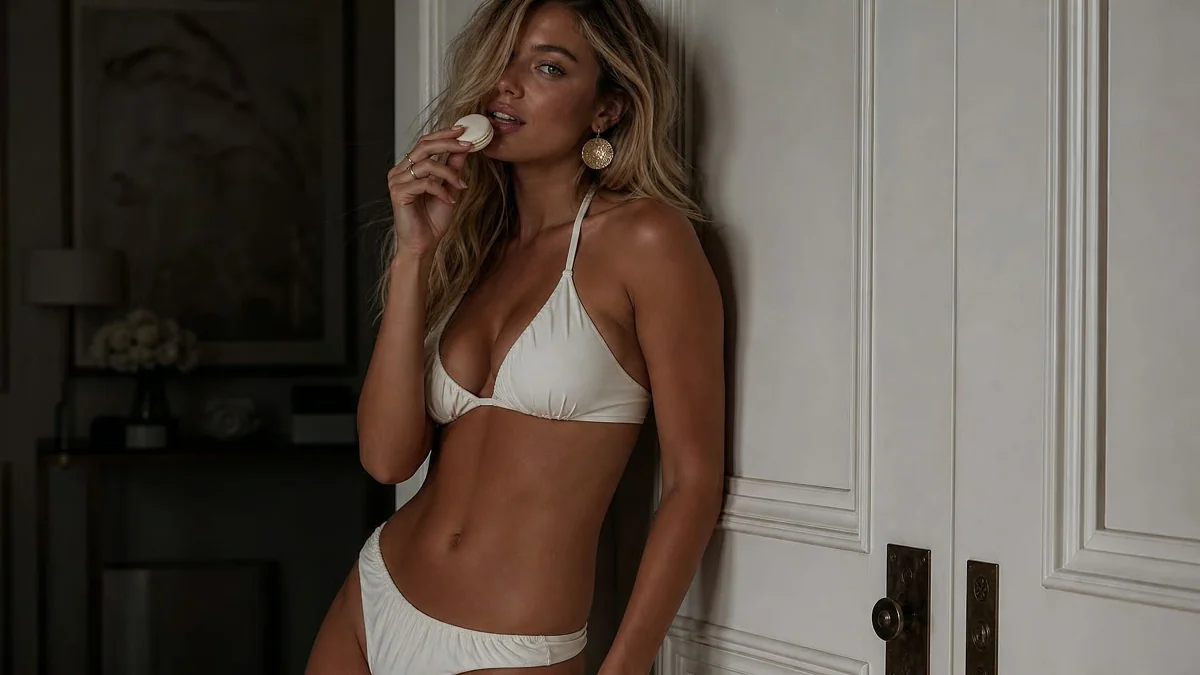 Before
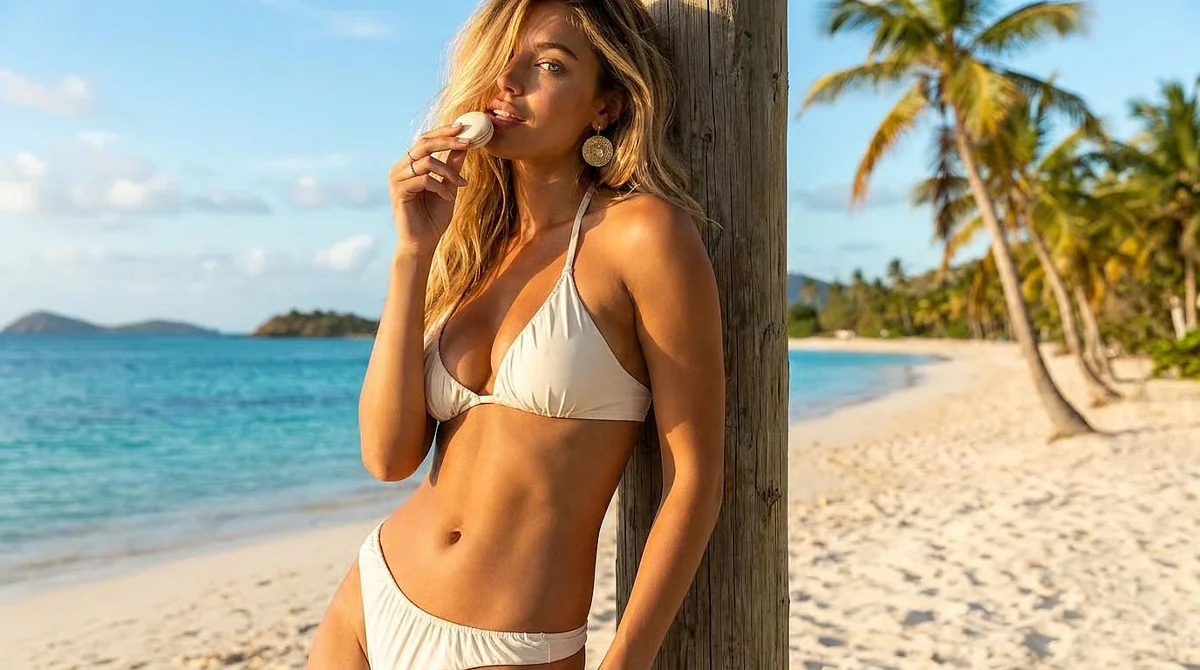 After
Move this adult swimwear portrait from the indoor setting to a tropical beach beside a palm tree. Add warm golden-hour sunlight. Preserve the white swimsuit, hairstyle, expression and hand gesture.
Image editing
Explore changes in clothing, color and fabric. Choose an instruction, add your own reference and shape the edit.
Put the new idea in one line and the details you want to preserve in another. The instruction stays editable before you generate.
Change: a moonlit terrace background with warm candlelight. Keep: the adult subject’s face, outfit, pose and body proportions.
Choose a main reference close to your intended composition. Add references within the selected model’s limit and explain what to use from each image.
Sharp facial detail and clear edges give the model a stronger reference than a compressed screenshot.
The output follows your reference frame. Include the outfit or background area you plan to change.
Start with one main change. This tool uses written instructions, rather than a brush or selection mask.
A new edit can use a previous result as its reference. Download a version you like before exploring another direction; each generation has its own credit quote.
Start with the setting while holding the subject and wardrobe steady.
Move the scene to a moonlit rooftop terrace. Keep the adult subject’s face, outfit, pose and body proportions.
Use the result as your new reference, then refine light and color.
Add soft amber candlelight and a muted blue night palette. Keep the adult subject’s face, outfit, pose and the existing composition.
Finish with a small change instead of asking for a new scene again.
Add subtle embroidered detail to the outfit. Keep its cut and color, the adult subject’s face, pose, lighting and background.
Compare your reference and result at full size. If the edit drifts, simplify the request or return to the original image.
Use a clear original portrait and explicitly name the identity details you want preserved.
Remove extra instructions. Try the largest change first, then refine a result you like.
Check the subject and background together. Ask for a single consistent light direction.
03 / FROM REFERENCE TO RESULT
Upload one reference, or open a completed image in My creations and choose Edit this image.
Name the change and the details to keep. Review the credit quote beside Generate.
Find the finished image in My creations. Download it, edit it again or animate it with a video model.
04 / THE PRACTICAL DETAILS
Change the background, lighting, colors or style. Describe what to change and which details to keep.
The quote is visible before you generate.
Plans & creditsNOTES FROM THE EDITING DESK
An image generator starts from words. This NSFW AI image editor starts from one image and a written editing instruction. Use NAIE 1.0 or 2.0 to modify a reference; use Z-Image on the Image generator page to create a new image.
Yes. Choose My creations, open a completed image and select Edit this image. You can also upload your own JPG, PNG or WebP up to 10 MB. Use an image you created or have permission to edit.
NAIE 1.0 accepts up to 14 reference images; NAIE 2.0 accepts up to 10. Put the image to edit first, followed by visual guidance. Instructions can be up to 5,000 characters. There is no paintbrush or selection mask.
Each NAIE 1.0 edit costs 10 credits at 2K or 12 at 3K. NAIE 2.0 costs 13 credits at 1K or 20 at 2K. NAIE 1.0 has no extra reference charge. For NAIE 2.0, the base price includes one input image; each additional image adds 1 credit. Your first free allowance is 15 credits, then 10; each lasts 24 hours.
You can edit adult NSFW images on NAIE with a reference image and a written instruction. We do not add a separate content filter to your edit; the connected model determines which requests it accepts. Only upload images you have permission to use.
An edit can change details beyond your instruction. Name what should change and what should stay, use one clear request at a time, and review the result before continuing. Exact identity or pixel-perfect preservation is not guaranteed.
A confirmed failed generation returns the charged credits to their original balance. Completed images appear in My creations and the Library, with a credit receipt. Creations are saved for one week, so download images you want to keep.
Give the two photos different roles: Image 1 is the subject to edit; Image 2 supplies only the pose. In Pose Changer, use Pose photo and keep that order. Pose transfer may still change details, so compare the result with both references.
A NEW LOOK STARTS HERE
From 10 credits per edit · 15 free credits first · then 10 · each valid for 24 hours.